Elk Antler Hunting Knife

Elk Antler Hunting Knife

A 9″ hand forged blade mounted in an elk handle with iron guard and pommel.

Leather sheath created by Dave Lougheed.

This was a commission piece for a fellow Creston valley resident. She wanted a hunting style knife with an antler handle for her husband, engraved with the words “Irish” and “Wrath” as a testament to his heritage. Otherwise the design details were left up to me.

The knife design was based on a outdoor survival book I picked up a few years ago called “Bushcraft – Outdoor Skills and Wilderness Survival” by Mors Kochanski. Accordingly, I asked the client and her husband to stop by so I could measure his palm width, and both the handle and blade length were created to suit (being 4 1/2″ long for each).

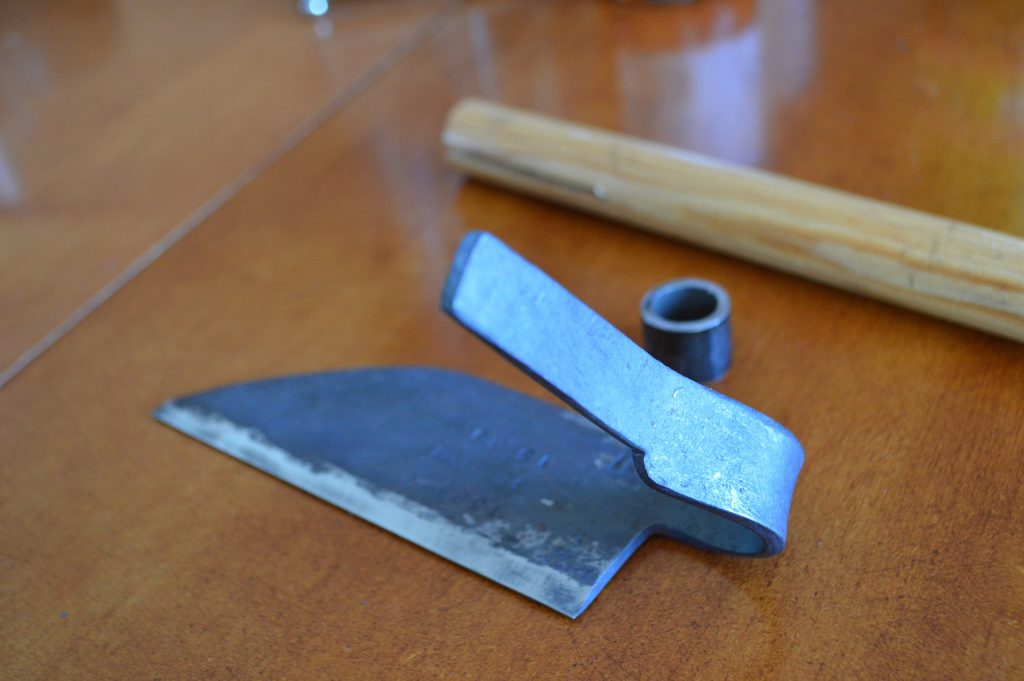
Kochanski advises that the spine of the blade be flat or slightly dropped at the tip, and I decided to use a tanto kata that was generously given to me by Dave J Friesen of Crossed Heart Forge to help me shape the profile of the blade. Since the handle was made from an elk antler (also from Dave), I decided on a rat tail tang with a flat iron pommel so that I could rivet the knife together.

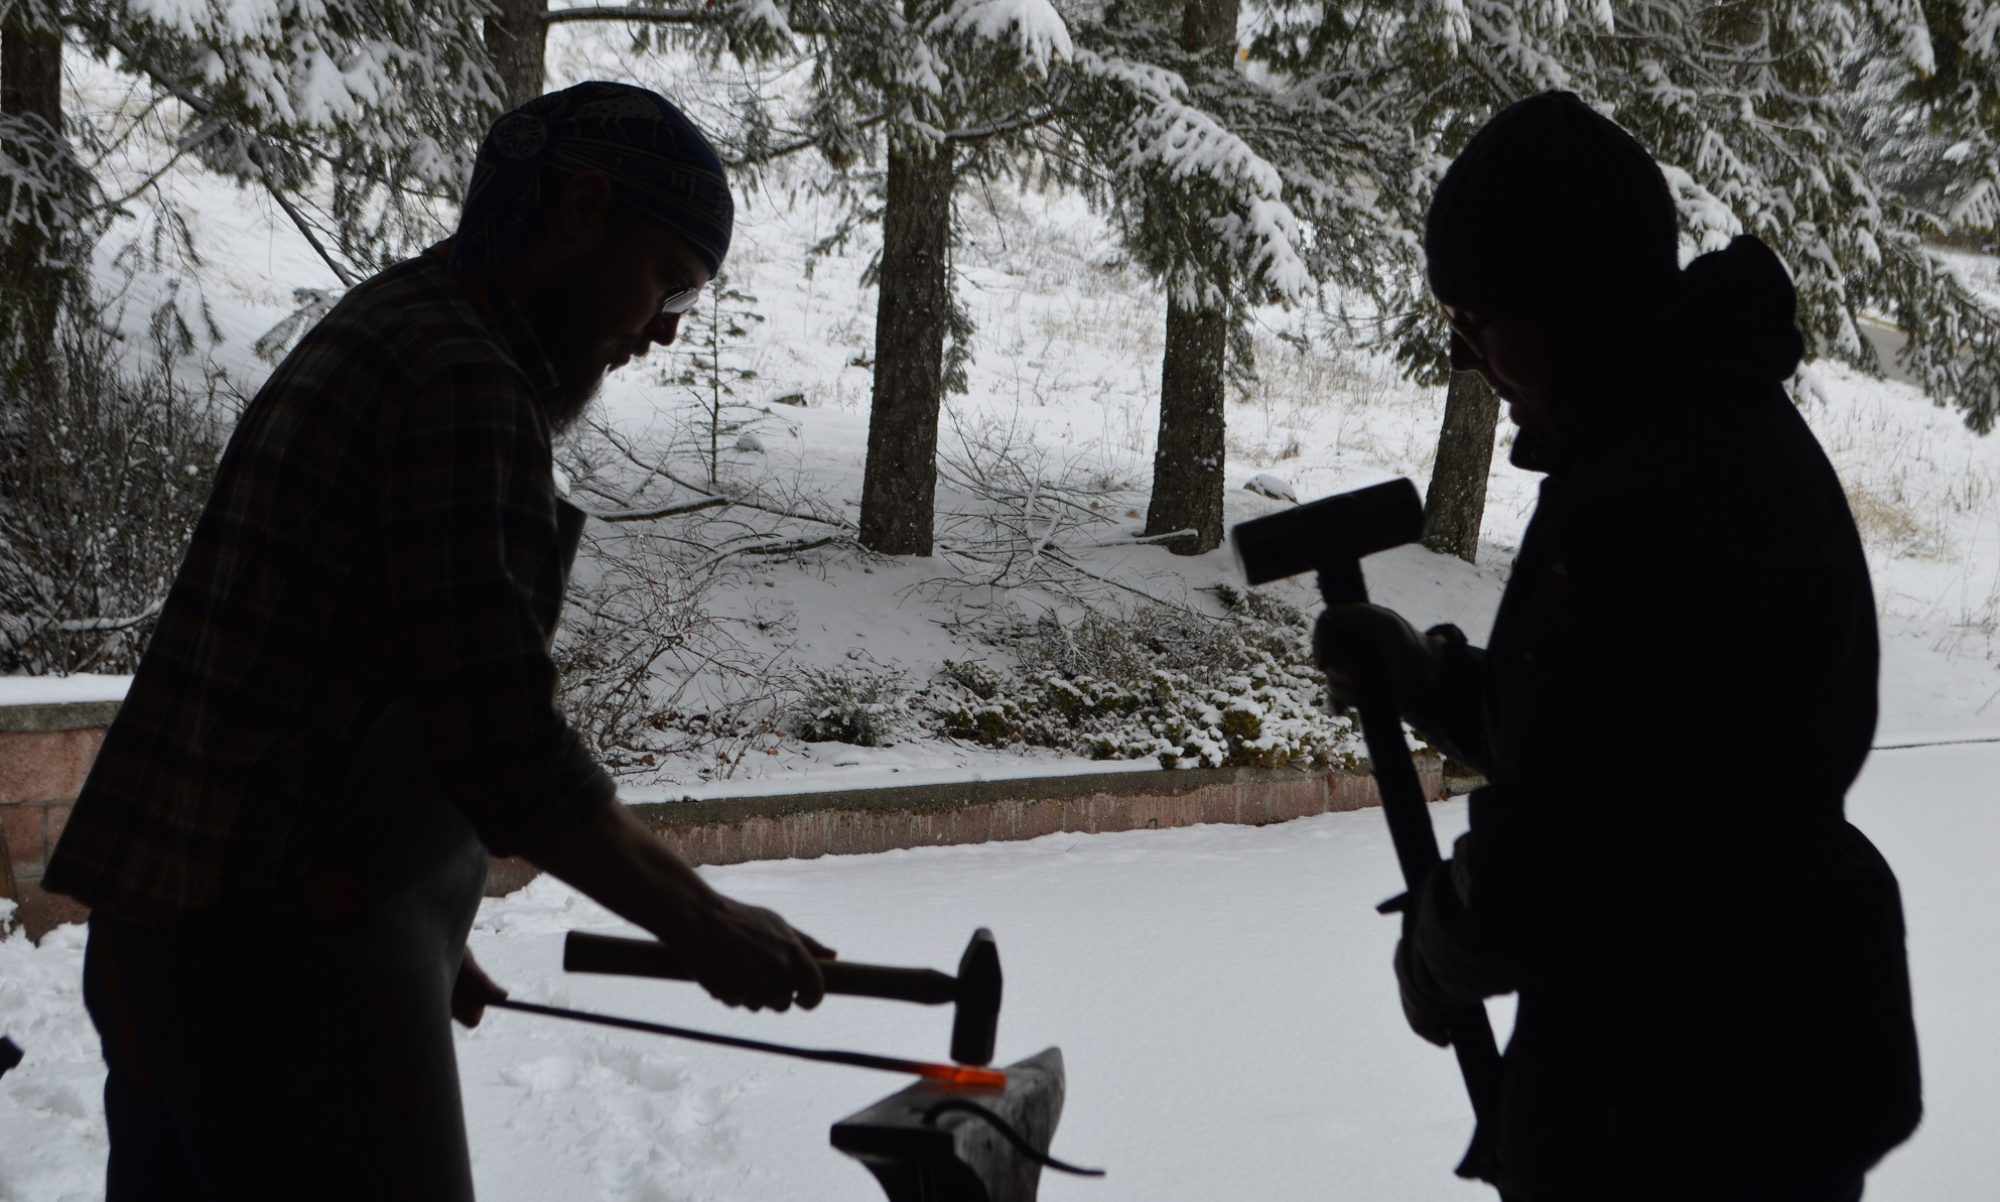
The knife was forged from an old carriage spring dating back to the 1800s, using a charcoal forge and Japanese fuigo bellows. I have finally started making my own charcoal so I’m proud to say that this knife was forged using fuel I made earlier in the year.

I chose to use yaki-ire to temper the blade, and the hamon can be seen from the hardening process. This is more thoroughly explained on the Elk Knife Process page.

Scrap 1/8″ plate steel with a hammered pebble texture form the guard and pommel. They were left just slightly oversized to the elk handle, and handle itself has had nothing done to it.

A Viking Styled Dagger

Viking dagger and leather sheath

This was a custom order from Ragnar the Trader, a long time customer and friend of the forge. It’s made from reclaimed spring steel, hand polished with diamond stones and it makes its home in a hand sewn leather sheath embossed with a Viking dragon.

The dagger is forged from a single piece of spring steel. The blade was hardened using the traditional yaki-ire process, where a clay slip is applied to the blade so that hardening is localized to the edges. After tempering, the edge is approximately rated to hardness of 55-60 HRC using a set of Japanese hardness testing files.

The handle is shaped for comfort and a sure grip. The handle wrap is tanned leather lace.

The sheath is made from vegetable tanned leather, 8 oz weight, hand dyed and embossed with a Viking dragon motif.

A simple belt loop keeps the dagger and sheath in place.

We do custom work all the time. Go to our contact page and tell us about your idea.

Preparing for Yaki-ire: Study and Practice

What is Yaki-ire

Yaki-ire, or clay tempering, is a style of steel hardening. It isolates the hardening to the places the bladesmith wants hard (such as the edge), while keeping the rest of the piece tough (the body and spine). If the style is perfected, it results in blades that combine the best qualities of steel: hardness and durability at the edge, and toughness as the foundation to prevent breaking from brittleness in the blade. The transition zone between the two qualities of steel is called hamon. I’m curious to see if a hamon, a sort of frosty, wavy line that delineates the transition, is visible on the blades I treated using yaki-ire.

Preparing the Clay

I took the sister blades I featured in my last post and applied a clay mask to each of them using the recipe I found on the Crossed Heart Forge website (a wealth of information, by the way). The basic recipe is:

  • 1 part clay (binds the mix)
  • 1 part crushed sand/grog (prevents cracking and shrinkage)
  • 1 part crushed charcoal (prevents flaking off in the fire due to heat expansion)

The goal is to crush these materials as fine as possible, for the smallest size grain determines the minimum thickness of the clay slip or mask that can be applied. This post covers how I prepared the clay mixture.

The swage block from Crossed Heart Forge brought back into grinding service.

Sand before crushing (left) and after (right). The sand’s from a local beach and was already very fine.

Firescale from around the anvil. It serves a similar purpose to sand/grog in clay.

Firescale ground into powder

Charcoal dust from sifting pieces for the forge. Nothing goes to waste!

The dust crushed into a very fine powder. It had a tendency to float everywhere when crushing it.

I mixed some clay I got from an art class with water to make it very thin and spread it out on a sheet.

After baking in the oven at 200 deg. F for a couple of hours.

The clay is ready to be crushed into a fine powder. This is the binding agent for the mixture.

Crushed clay!

Bringing it all together

Now that I had my three (four technically) constituent parts, I was ready to mix them in equal proportion (by volume) and add water. The consistency to aim for the mask that goes on the body of the blade is pancake batter. It seemed to me to be like the texture of mortar when laying down tiles.

The materials ready to be mixed. It took about a tablespoon of each material to make enough for both blades.

The dry mixture. Add water and apply!

My next post will feature a video where I mix and apply the clay mask to the hori hori. Stay tuned!

One Blade Becomes Two

Sister Blades

Working on some new tool designs, I took an old lawn mower blade and recycled it to use as stock for a kusakezuri (Japanese hand hoe) and a hori hori. In my continuing study of Japanese agricultural tools made with reclaimed steel, I’ve created these as prototypes. The fact that the two blades are sisters really speaks to me, and I plan to let whoever becomes the owner of these tools know it.

The kusakezuri blade, ferrule and handle unassembled. The blade needs hardening at this point.

The hori hori blade with tape measure to capture the scale.

Heat Treatment Process

The hand hoe is ready for heat treatment. The process involves annealing (which I did already), then normalizing the blade for two or three cycles depending on if the blade warps as it cools. Finally, the blade will be hardened by quenching. For this particular steel from the reclaimed lawn mower blade, I took a piece of it and tested it. It hardened very well at a cherry red heat quenched in room temperature water. For longer pieces like a blade, however, quenching it in a medium like that could cause it to warp excessively or even crack from the stress of cooling so quickly.

I next tried hardening the test piece in warm vegetable oil (came out soft), and then cold vegetable oil. The second result had ok hardness (a file barely scratched it). I decided to quench the hori hori blade in the cold vegetable oil. This is the result:

A slight curve can be seen along the blade’s edge. This needs to be corrected.

The blade warped slightly, curving upwards, and the edges were a little soft for my liking, with the file biting a bit. The ideal is a file skating on the surface of the hardened steel. I’m going to harden the hori hori again, but this time using yaki-ire to harden the edges. I will use the same process for the hand hoe as well.

Yaki-ire is a style of edge hardening that is accomplished by applying a clay mask to all surfaces of the blade except for the edge. When the 1-2 mm clay layer is dry, the blade is heated to the correct temperature and then quenched in water. Water quenches faster than oil, so I believe this will give the hardness that I want while maintaining some toughness in the rest of the blade.

Blade Anatomy

A slight concave is forged into the back of the hoe blade to ease in sharpening.

Tang detail: note the sharp shoulder where the tang meets the ferrule.

The back side of a single bevel blade is called ura in Japanese, and in the picture above I forged a slight concave on the ura to make sharpening easier. This is a traditional method for forging single bevel blades. The blade will fit into a slot cut into a hardwood handle. An iron ferrule is used to support the tang and blade; for the support to work correctly the ferrule must fit snugly with both the tang and the wood. It takes a bit of work to ensure all the pieces fit properly.

Next update will show the completed pieces.