Address Sign Project

This was a custom order we received from some folks in the US. They had a rough design in mind, and it was up to us to decide on the execution of it. It’s an interesting process where sketch means reality, working within the constraints of the material and the functional requirements of the project (in this case, it was a sign that could be hung up securely, was black in colour and would be resistant to the outdoor elements).

The final dimensions were roughly 36″ across and 24″ tall by 1″ deep. The finish is a matte black Rustoleum spray paint. The frame was constructed with hot rolled mild steel and assembled via welding.

The completed piece with a matte black finish.
The blueprint of the sign, to scale.

The design was originally created at a much smaller scale to ensure our customer was satisfied with it. Once that was finalized, we printed it at a 1:1 scale on multiple pieces of 8.5″ x 11″ printer paper, and the whole design transferred to a piece of scrap plywood.

The forged cross.

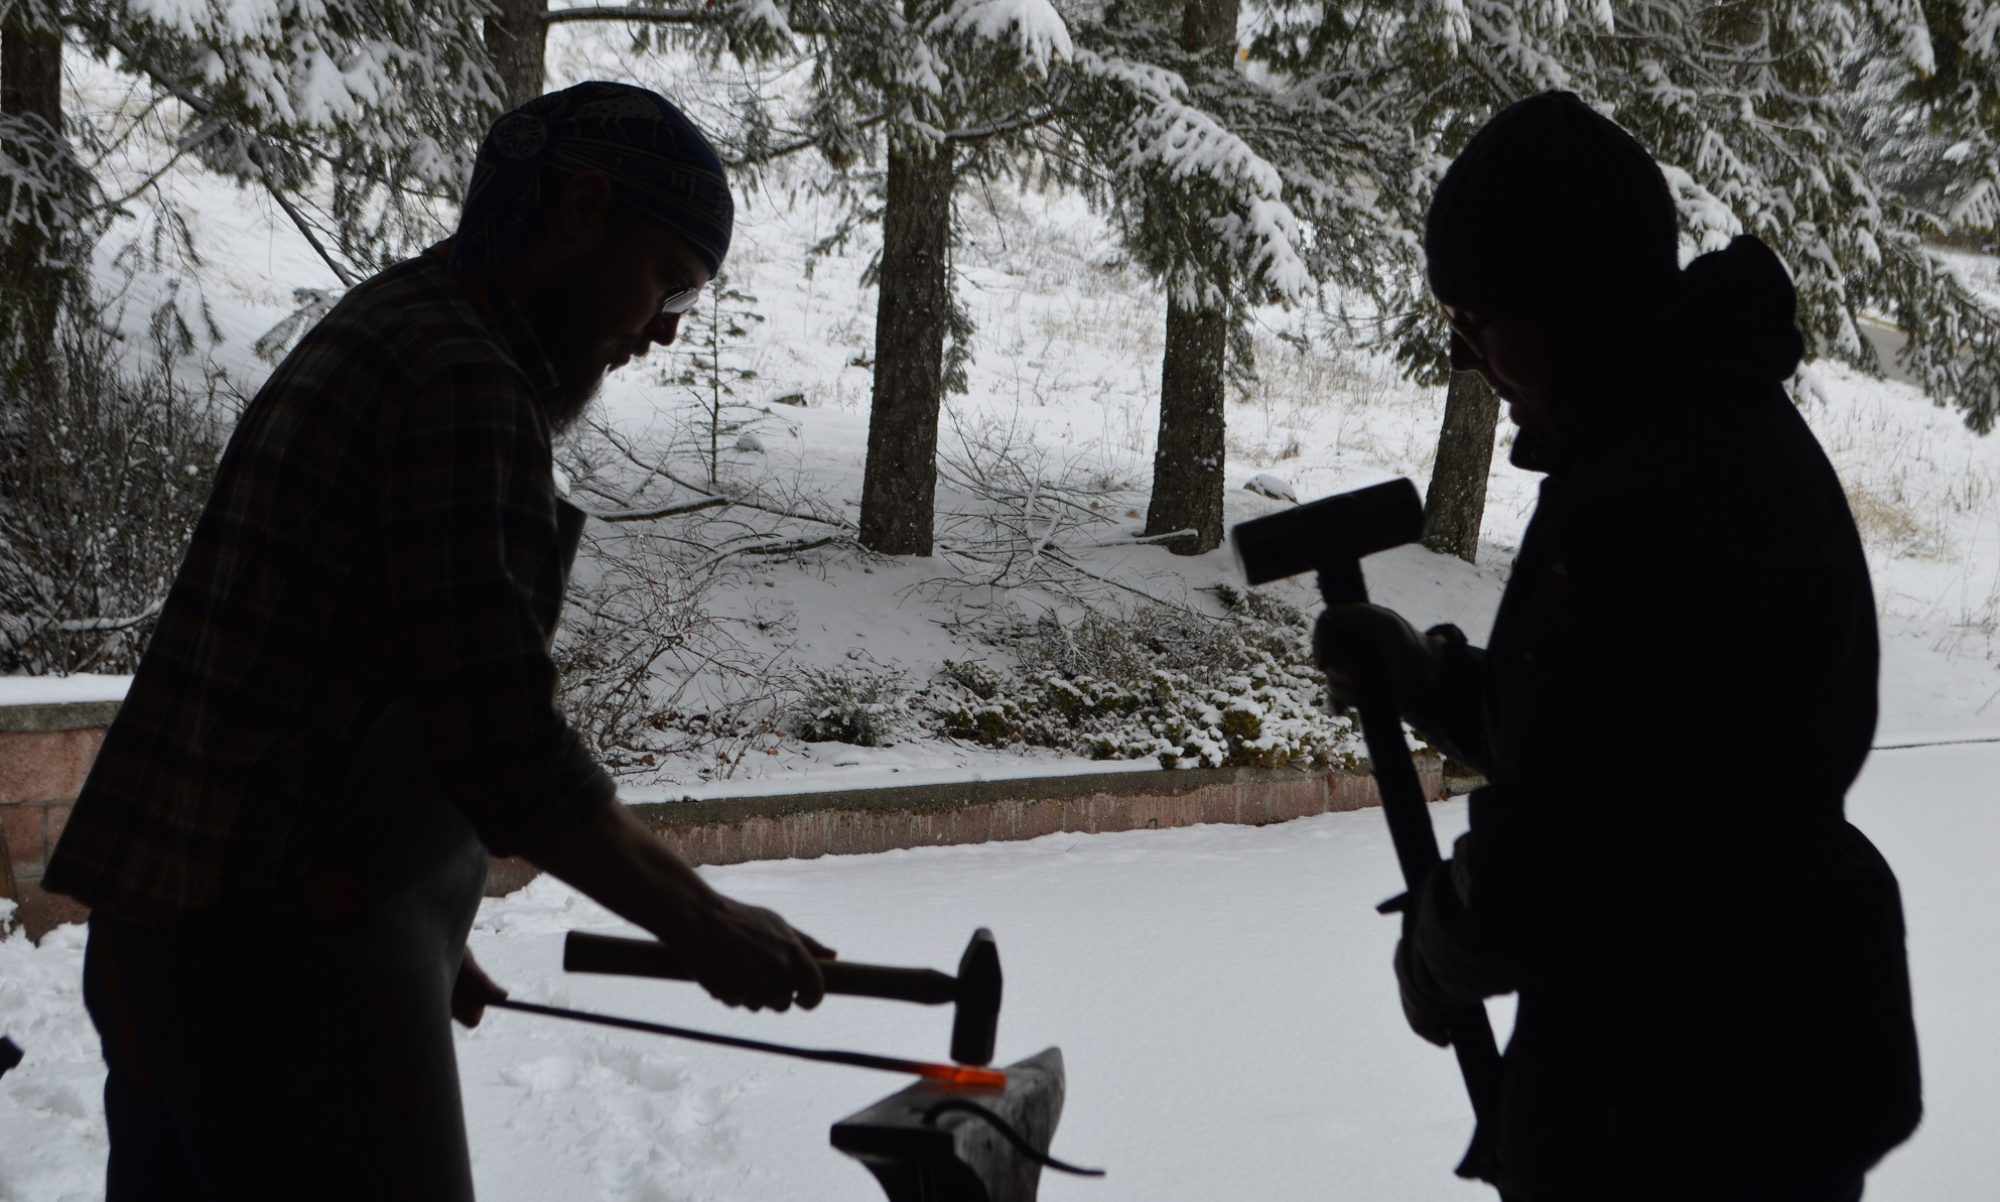
Starting to create the forged pieces and using the transferred design as a reference. This was a technique I learned in an ABANA course on making a grille. The cross was forged from 1/2″ square bar, upset at the ends.

Adding the scrolls on either side.

More pieces are added. The printer paper was covered in blue chalk on the back and I used a ball point point to trace the lines, thus transferring the design onto the plywood. I didn’t have a piece of rusty sheet metal large enough for the project. Metal is preferable because I’d be able to place a hot piece of steel against the design to see if it needed tweaking. In this case, I had to cool the part enough so that it wouldn’t scorch the wood.

The sign assembled together with scrolls and backing.

All the pieces are collected here, but not assembled. The penny scrolls on the sides of the frame were replace with a tapered scroll in the end.

Detail of the cross.

The “crown of thorns” detail was a tricky bit of work. I wasn’t sure exactly how I was going to tackle transforming that bit of design into reality, until one night I suddenly thought of barbed wire. The wire was just the right scale for the project, so I took a length of it and wrapped it up around itself.

A detail view of the edge and plate backing..
From another angle.
Detailing of scrolls.

Here we can see as the project came along that the side scroll finials changed from penny to tapered. The customer preferred the look of these finials, and it was a quick enough job to change them. The top and side scrolls met at the corner and were welded together.

Detail of the finished cross.
Detail of leaf scroll.
Detail of completed scrolls.
The completed piece with a matte black finish.

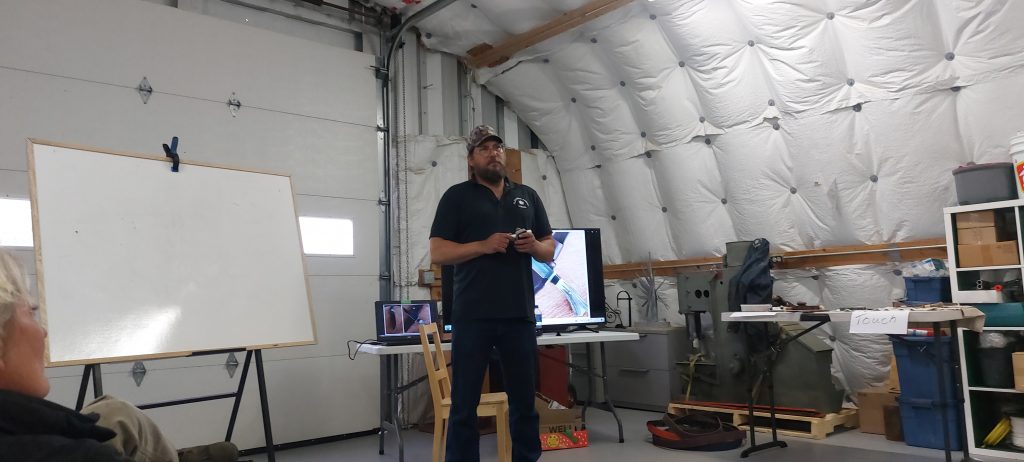
Ornamental ironwork is a very creative process and I enjoy the occasional project.

If you have an idea that you would like to see come to life, send us an email at info@reforgedironworks.com

A Farrier’s Belt Buckle

The farrier who stops by our little homestead every now and then to tend to our Norwegian Fjord was kind enough to supply us with rasps that are too worn done for the work she does. In trade, we forged this belt buckle for her from one of the rasps she gave us.

I used a angle grinder to cut the rasp in half and forged it oval-like, and put in grooves as one would see on an actual horseshoe. This was all made to the farrier’s criteria but she left the creative details up to me.

horseshoe rasp belt buckle
belt buckle back detail

Rasps are made of a steel that has a higher amount of carbon in it. That can make welding a tricky thing. Luckily I know an experienced welder who managed that part of it. Just to be extra careful, I tempered the buckle after welding to remove any stresses that might have been in the welds. Best to have relaxed steel if it’s allowed.

wearing a belt buckle made from a farrier rasp

Turning scrap into functional art is what we love to do best.

The Value of Learning from Others

Blacksmithing can be a lonely craft. Thankfully, I have my wife to keep me company in the shop to help with striking, designing awesome driftwood and iron pieces and generally being a great support in our endeavours. This past weekend was the first Kootenay Blacksmith Association meeting that was held since before the covid pandemic hit the world, and I didn’t realize how much I missed it.

Troy speaking at the spring Kootenay Blacksmith Association conference.

This spring, the KBA invited a bladesmith, Troy Flanders of Flanders Forge, to speak to the crowd. What a source of information, and he barely scratched the surface of the bladesmithing craft. Regardless, I learned much from him and also got some useful tips on improving my forging techniques from a fellow member. I’m currently finishing up a hori hori for a customer, putting what I learned into practice and I can honestly say this is the best hori I’ve made yet.

Some of Troy Flander’s work.

I’ve been a professional blacksmith for over five years now, so I figure I know quite a bit about hammering steel and all the other accompanying skills that go with it. However, in order for me to learn anything from other ‘smiths I have to do two things: swallow my pride and listen. There is a vulnerability that comes with that because I have to admit to myself that I don’t know everything, that there are others who are better at this stuff than I am, and the only way I can learn is by admitting that to myself and to others.

Thankfully, the KBA members are gracious and helpful folks (despite the stereotype of blacksmiths being ornery and secretive), and if you’re willing to be quiet and pay attention to what the older generation of craftsmen are saying, you might just learn a thing or two. If you’d like to keep up with the happenings of the Kootenay Blacksmith’s Association, go to their contact page to become a member: https://kootenay-blacksmiths.ca/contact-us/

One Blade Becomes Two

Sister Blades

Working on some new tool designs, I took an old lawn mower blade and recycled it to use as stock for a kusakezuri (Japanese hand hoe) and a hori hori. In my continuing study of Japanese agricultural tools made with reclaimed steel, I’ve created these as prototypes. The fact that the two blades are sisters really speaks to me, and I plan to let whoever becomes the owner of these tools know it.

The kusakezuri blade, ferrule and handle unassembled. The blade needs hardening at this point.

The hori hori blade with tape measure to capture the scale.

Heat Treatment Process

The hand hoe is ready for heat treatment. The process involves annealing (which I did already), then normalizing the blade for two or three cycles depending on if the blade warps as it cools. Finally, the blade will be hardened by quenching. For this particular steel from the reclaimed lawn mower blade, I took a piece of it and tested it. It hardened very well at a cherry red heat quenched in room temperature water. For longer pieces like a blade, however, quenching it in a medium like that could cause it to warp excessively or even crack from the stress of cooling so quickly.

I next tried hardening the test piece in warm vegetable oil (came out soft), and then cold vegetable oil. The second result had ok hardness (a file barely scratched it). I decided to quench the hori hori blade in the cold vegetable oil. This is the result:

A slight curve can be seen along the blade’s edge. This needs to be corrected.

The blade warped slightly, curving upwards, and the edges were a little soft for my liking, with the file biting a bit. The ideal is a file skating on the surface of the hardened steel. I’m going to harden the hori hori again, but this time using yaki-ire to harden the edges. I will use the same process for the hand hoe as well.

Yaki-ire is a style of edge hardening that is accomplished by applying a clay mask to all surfaces of the blade except for the edge. When the 1-2 mm clay layer is dry, the blade is heated to the correct temperature and then quenched in water. Water quenches faster than oil, so I believe this will give the hardness that I want while maintaining some toughness in the rest of the blade.

Blade Anatomy

A slight concave is forged into the back of the hoe blade to ease in sharpening.

Tang detail: note the sharp shoulder where the tang meets the ferrule.

The back side of a single bevel blade is called ura in Japanese, and in the picture above I forged a slight concave on the ura to make sharpening easier. This is a traditional method for forging single bevel blades. The blade will fit into a slot cut into a hardwood handle. An iron ferrule is used to support the tang and blade; for the support to work correctly the ferrule must fit snugly with both the tang and the wood. It takes a bit of work to ensure all the pieces fit properly.

Next update will show the completed pieces.